
Domain Name
- AGENTS.spy
Users
- Administrator
- Felix Leiter (Domain Admin)
- jbond (Local Admin Rights on both clients)
- mpenny
- SQLService
Computers
- MI6-DC (Domain Controller) (Windows 2022 Server)
- 007 (Client) (Windows 10 Pro)
- Secretary (Client) (Windows 10 Pro)
Active Directory Users and Computers
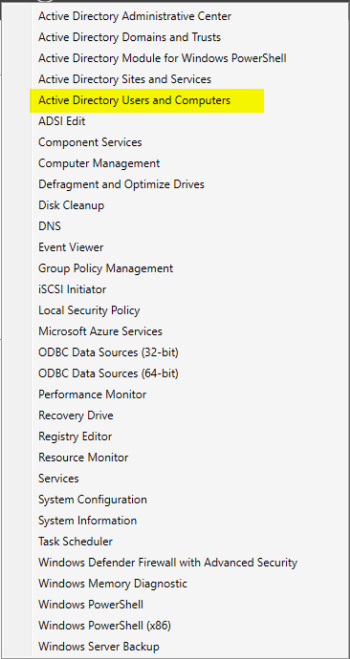
Log into the Domain Controller. In the Server Manager Dashboard, select the Tools dropdown menu and then select the Active Directory Users and Computers tab.
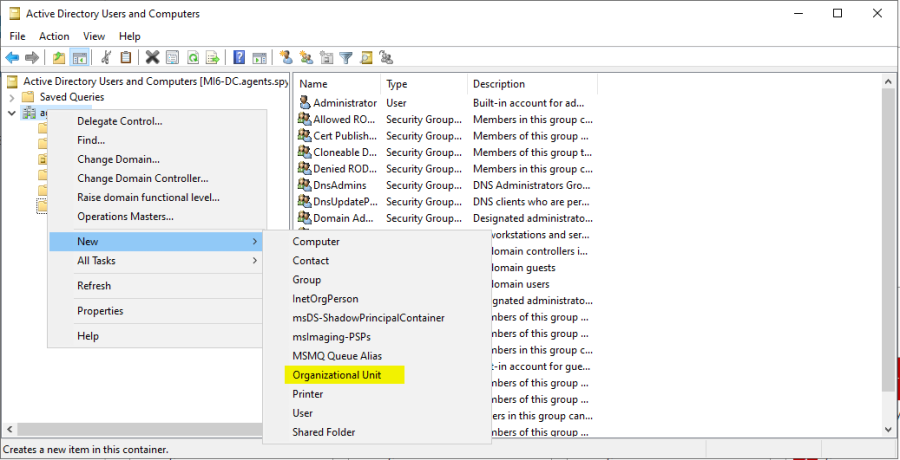
In the Active Directory Users and Computers, right click the Domain name (agents.spy in our case), go to New > Organizational Units.
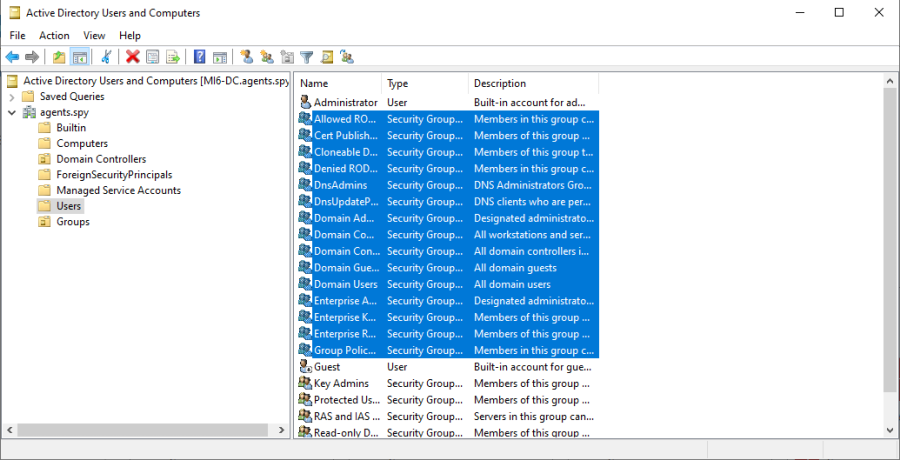
Name the Organizational Unit “Groups”. Go back to the “Users” tab and then select ALL of the pre-built groups and just drag them over to our new Groups Folder.
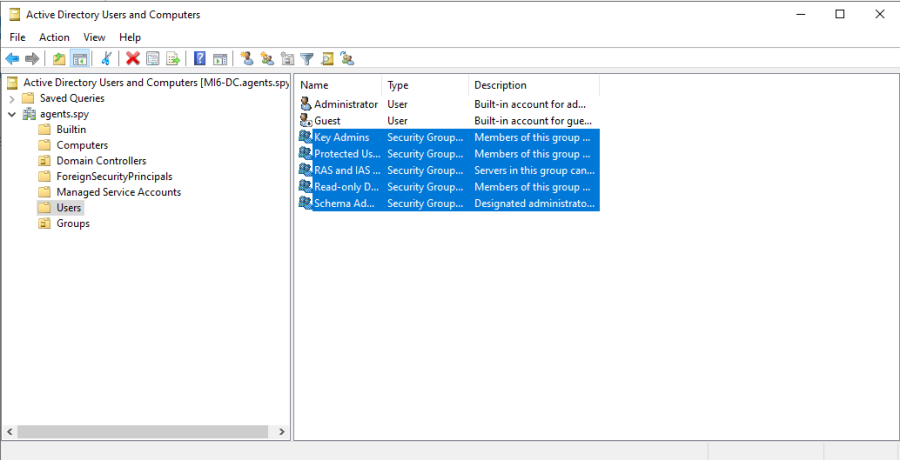
Now the “Users” folder should only have the 2 users (Admin, Guest), and all of the groups are organized into the “Groups” folder.
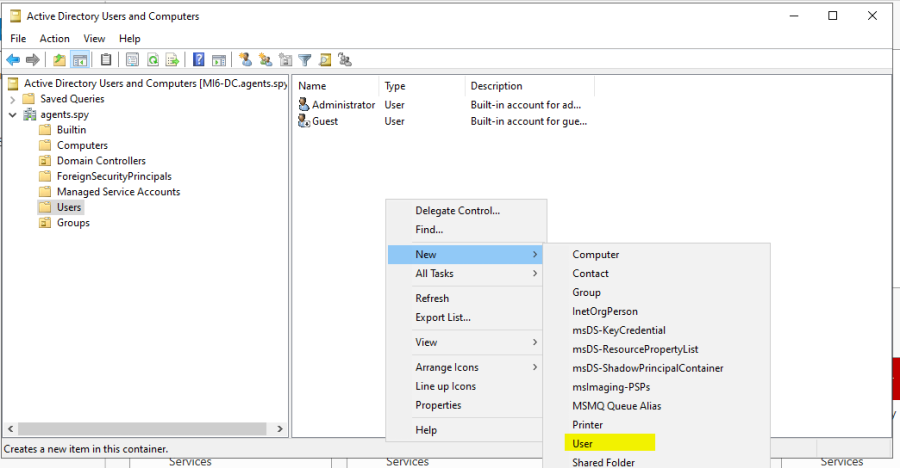
Now we are going to create some new users for the Domain, so right click in a blank area of the screen and select New > User.
We are going to make one of our users that we have listed above:
Full Name: James Bond
Username: jbond
Password: P@sswOrd
Now that we have created our first user, we are going to create another Admin account so just right click the Administrator user and select Copy.
This is going to be our Domain Admin.
Full Name: Felix Leiter
Username: fleiter
Password: pa$$w0rd!
Now lets copy the regular user James Bond and create another user:
Full Name: Money Penny
Username: mpenny
Password: P@$$w0rd!
Now we are going to create an SQLservice account with Domain Admin rights, so just copy the user fleiter or Administrator.
NOTE: This is NO-NO when it comes to administering privileges.
Full Name: SQL Service
Username: SQLService
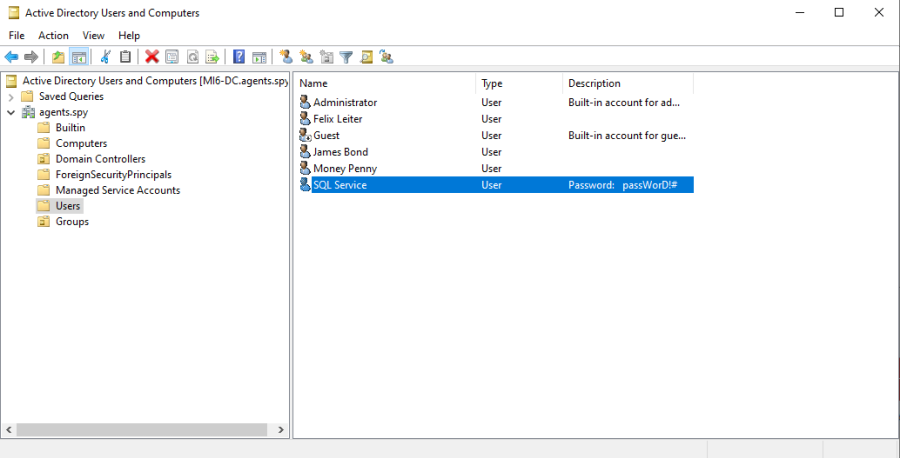
Password: passWorD!#If we open up the properties of the SQLService account, under the “General” tab, we are going to add the password information to the “Description” section so it appears on the main users window.
Create a Share
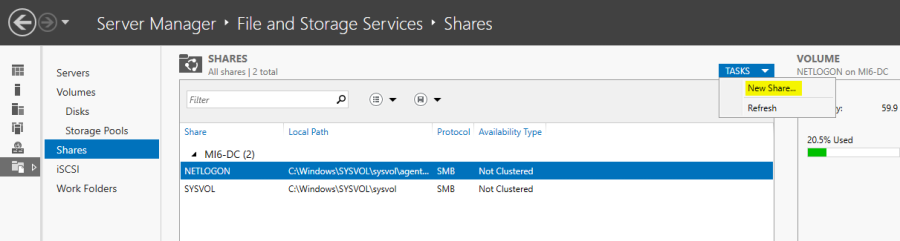
Now go back to the Server Manager Dashboard and on the left panel, select “File and Storage Services”, then Select “Shares”, then select the drop down menu “TASKS” and select “New Share”.
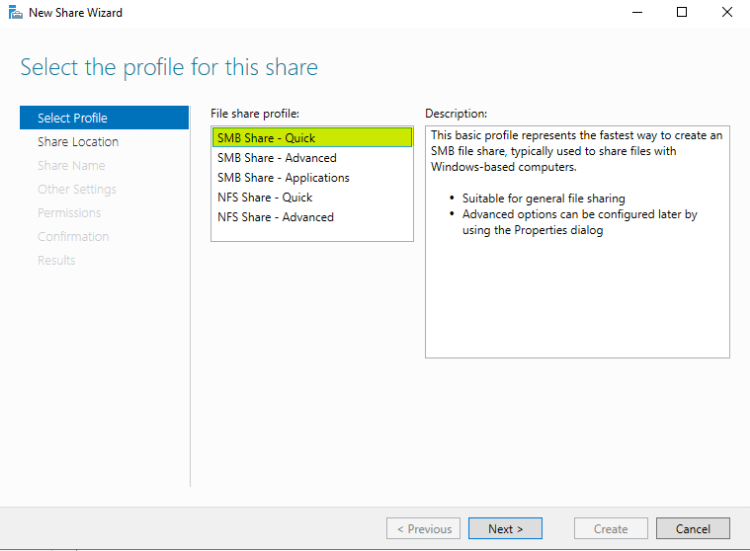
Select SMB Share Quick.
We are going to keep the default C: drive to share on the domain controller.
Share Name: hackmeWe are going to keep the rest of the settings default, so select next through the remainder of the windows and close the window. The share should appear in the SHARES window.
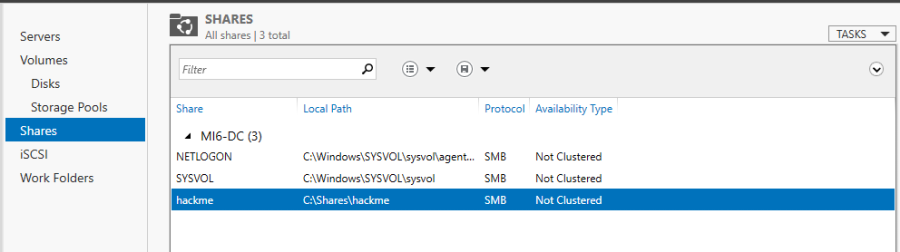
We did this because most Domain Controllers have an SMB share on them. We wanted the ports 139, 445 to be open on this DC, in order to leverage and attack them.
Create a Service Principal Name (SPN)
Now on the Domain Controller, we are going to create a Service Principle Name, so open up a cmd.exe and type:
NOTE: This is going to be for Kerberoasting later in the course.
setspn -a MI6-DC/SQLService.AGENTS.spy:60111 AGENTS\SQLService
Now we are going to verify that the SPN has been created so type:
setspn -T AGENTS.spy -Q */*
Group Policy Management
Now lastly lets go to the Start menu and start typing in Group Policy Management.
Go to Forest:AGENTS.spy > Domains > AGENTS.spy, right click the domain name and then select “Create a GPO in this domain...”.
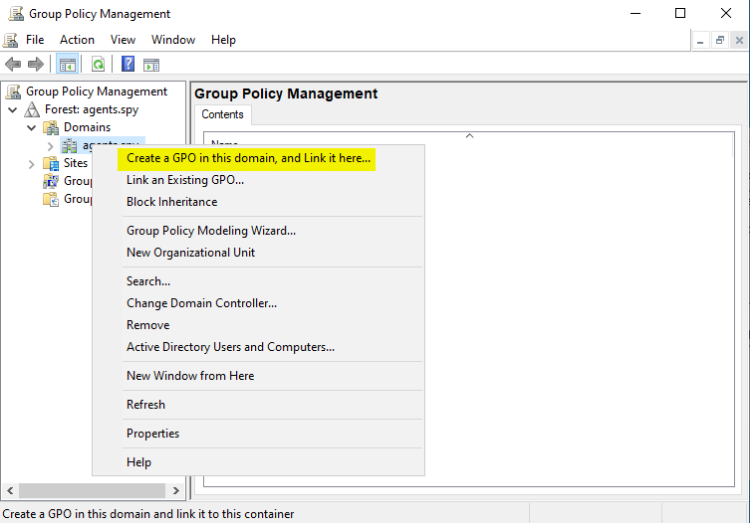
Name this new GPO “Disable Windows Defender”.
We are doing this because we are just trying to learn the fundamentals of attacking an AD environment.
Antivirus and Firewall evasion are topics that must come after the fundamentals, seeing as they are always changing and will become obsolete every few months.
Now under AGENTS.spy, right click the new Disable Windows Defender and select Edit.
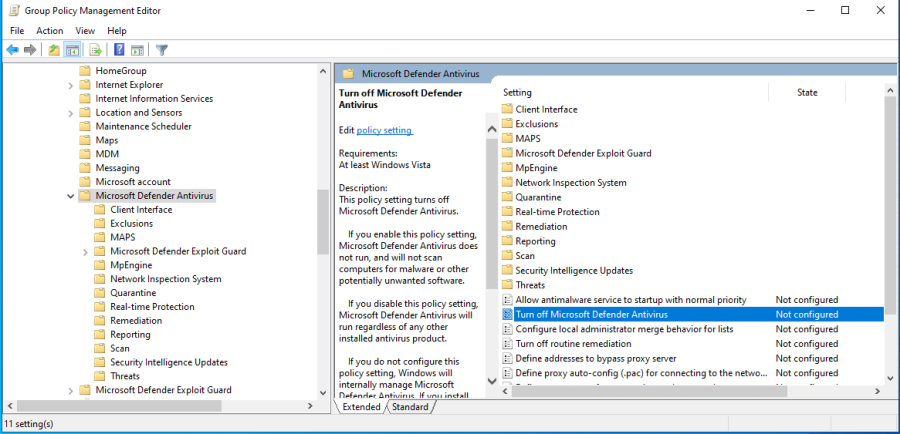
In the new GPO window, drill down through Policies > Administrative Templates > Windows Components > Windows Defender Antivirus.
Click on the folder Windows Defender Antivirus.
In the right panel, double click Turn Off Windows Defender Antivirus.
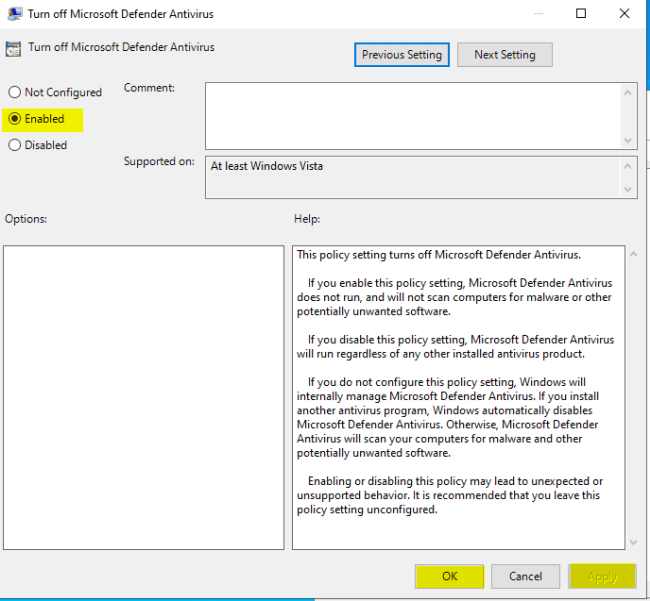
In the new window, just select the Enabled radio button, Apply, then Okay.
Just as a precaution, also check the folders Windows Defender Exploit Guard and Windows Defender Smartscreen to ensure that they do not have any settings that need disabling.
One more thing, you must make sure that our new GPO is enforced so if you see this back in the GPO management window, we must go ahead and change the settings to enforce it:
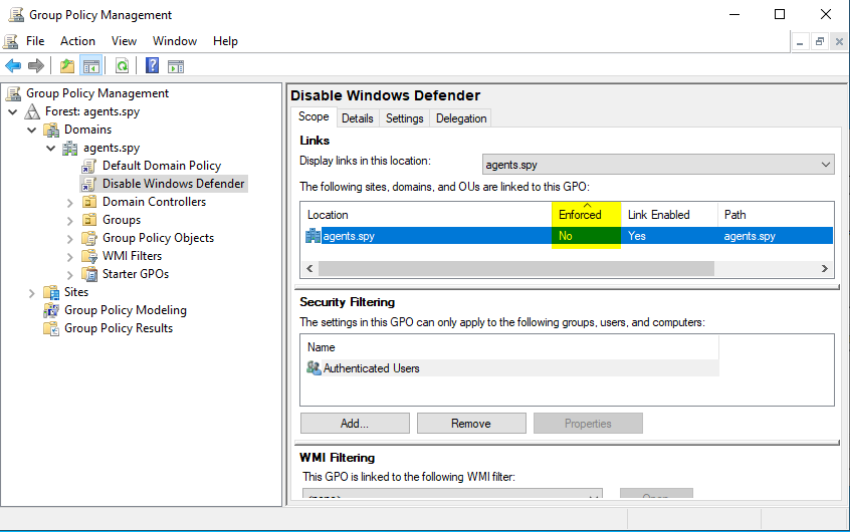
Simply right click the Disable Windows Defender GPO in the left panel and select Enforced.
