
Setting up the Domain Controller
Once we have installed the VM Windows Server 2019 iso file into VMWare we are going to set up the domain controller.
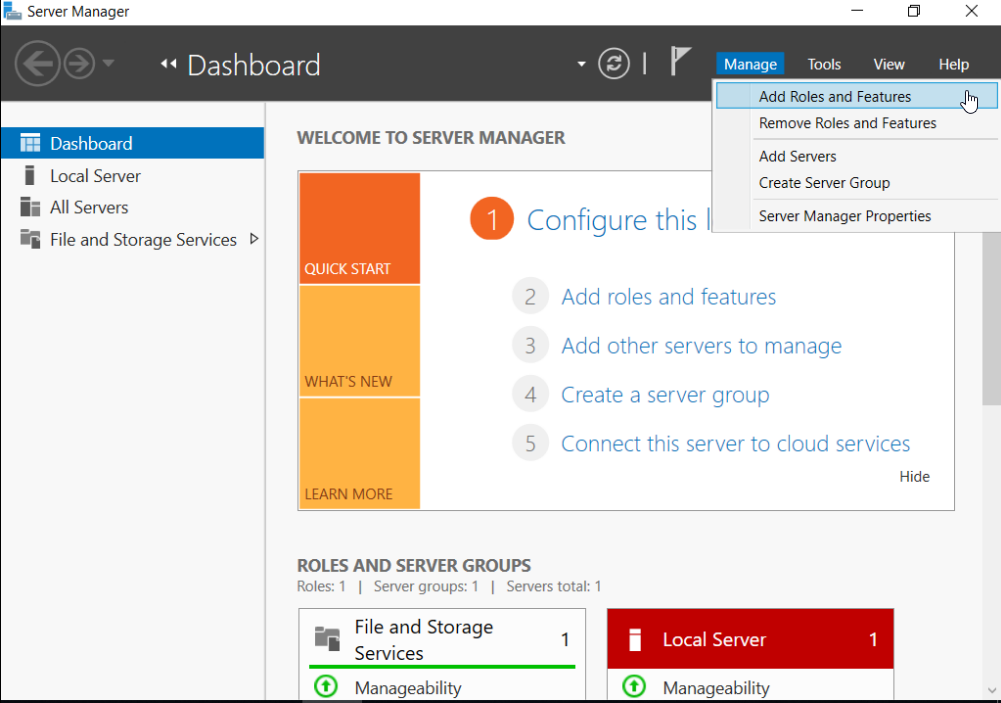
Within the Server Manager Dashboard click “Add Roles and Features”.
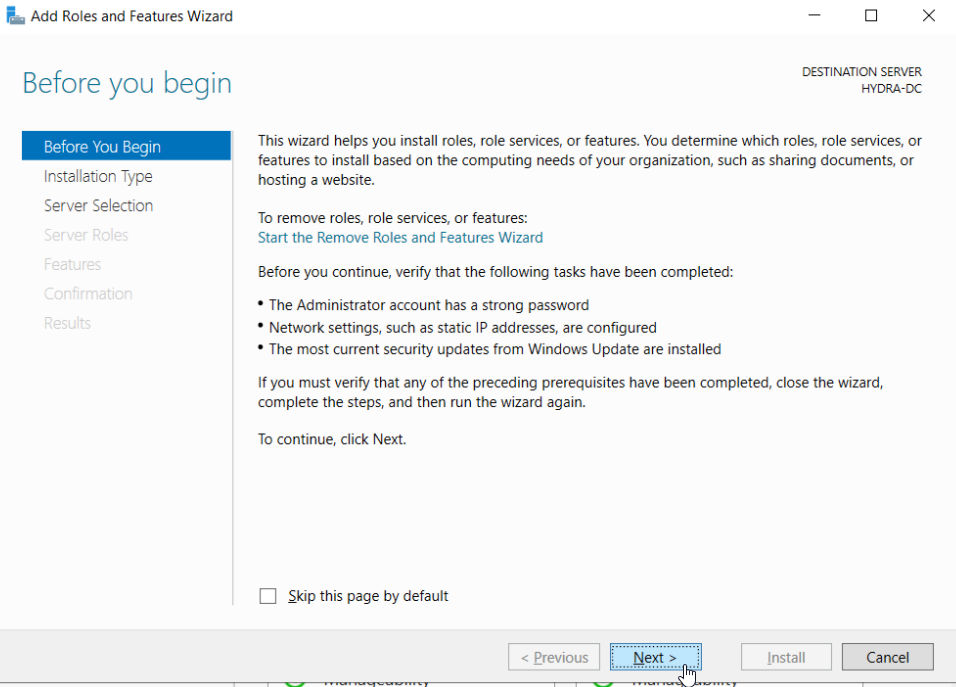
Click Next on the following page.
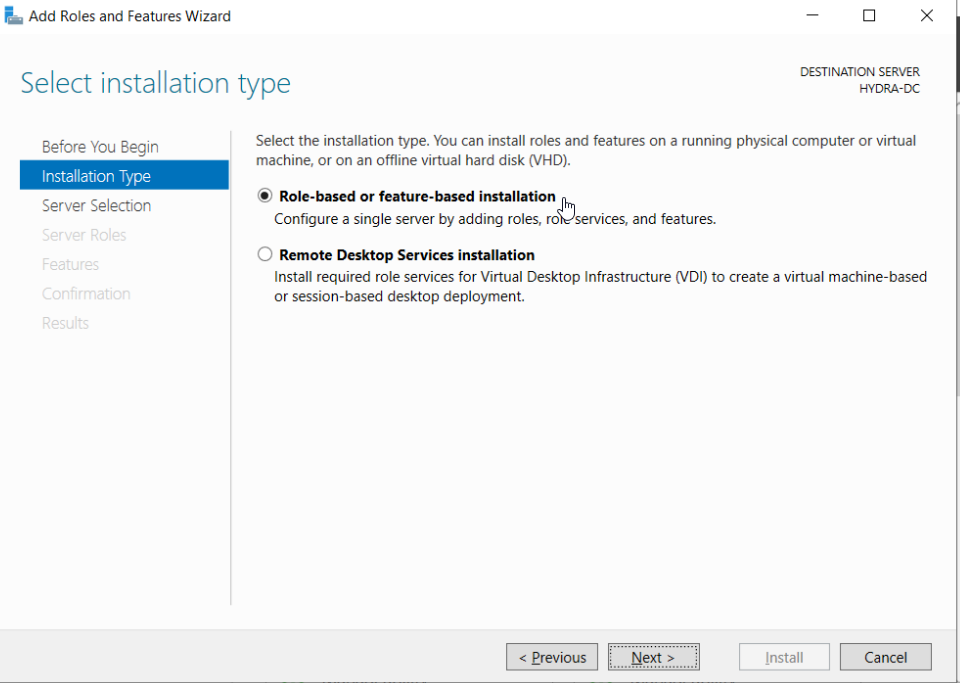
Make sure that "role-based or feature-based installation" is selected then click next.
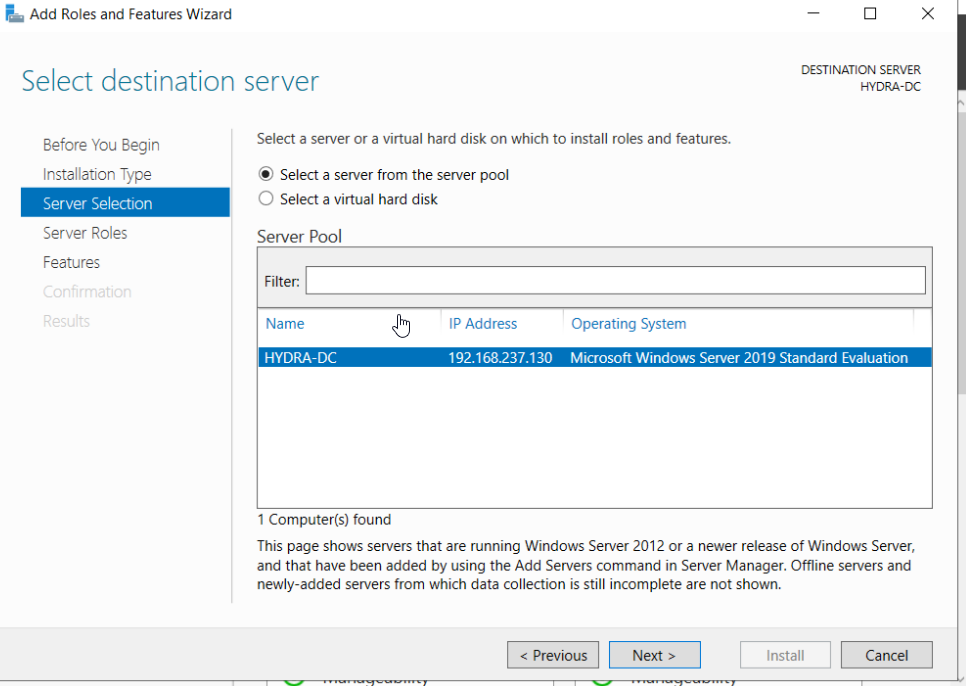
Click next again for the default server select.
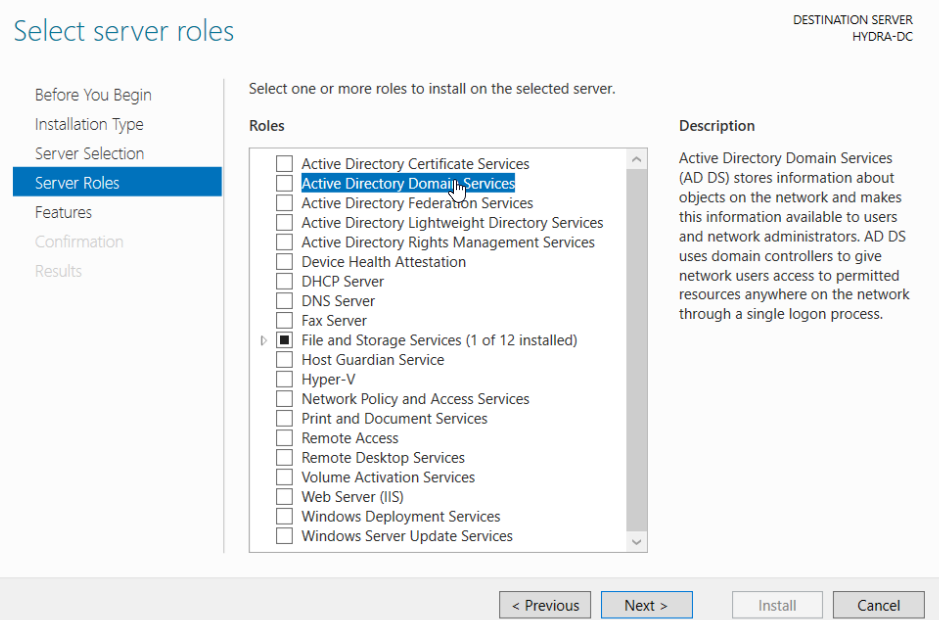
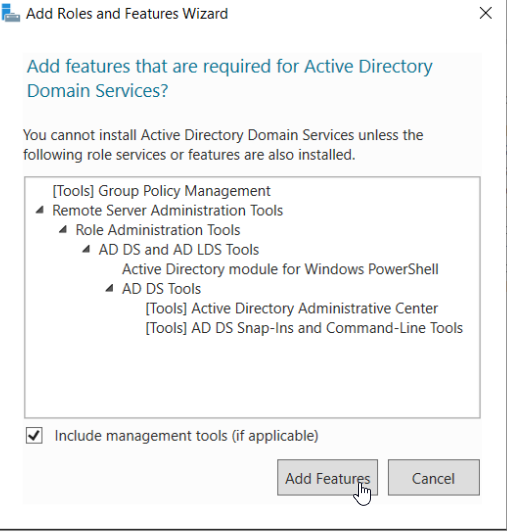
Select next after adding the Active Directory Domain Services.
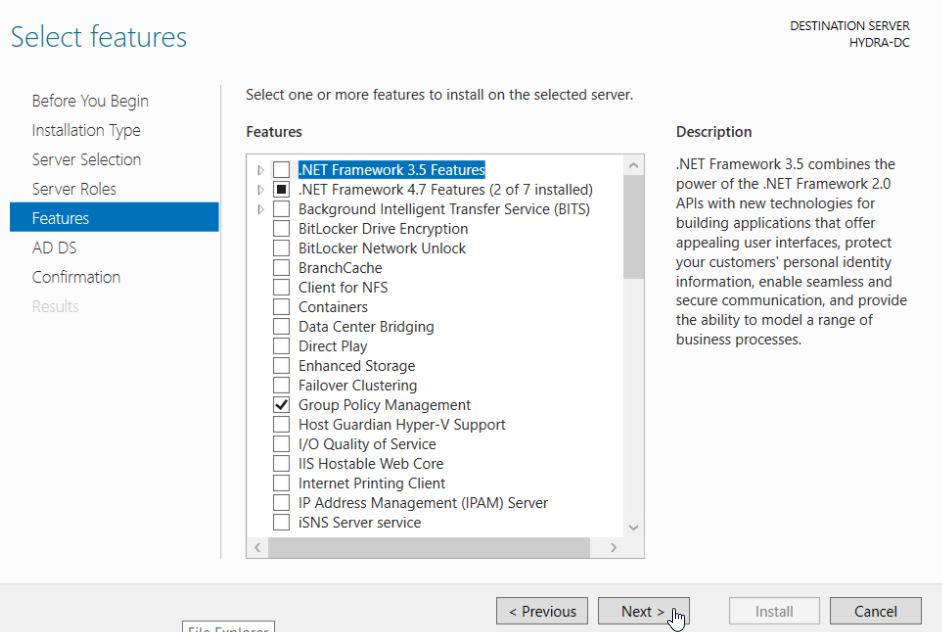
Select next.
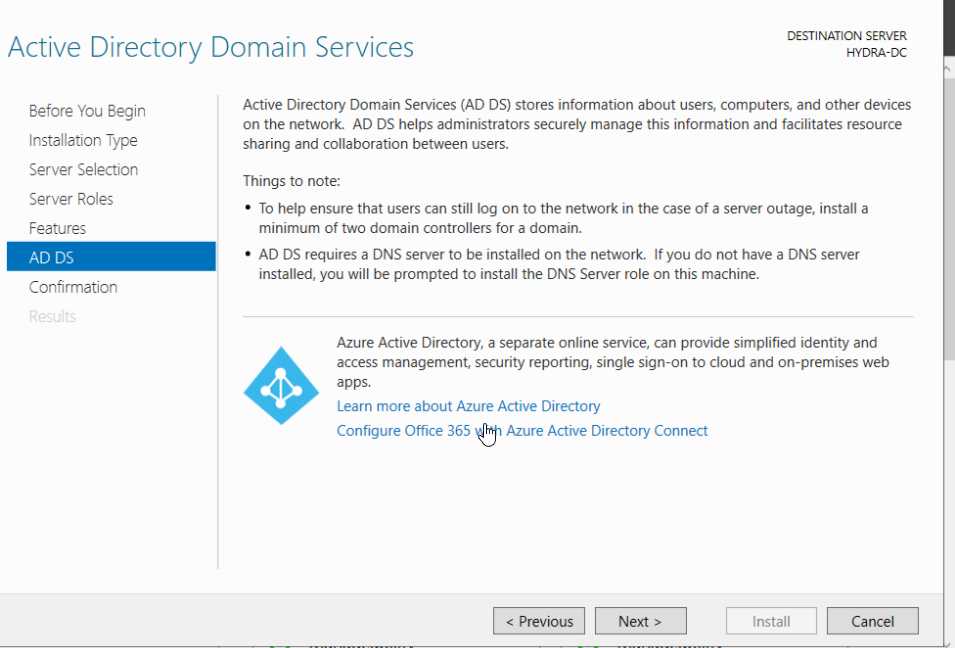
Select next then on the next page, click “Install”. Once it is finished installing just click Close.
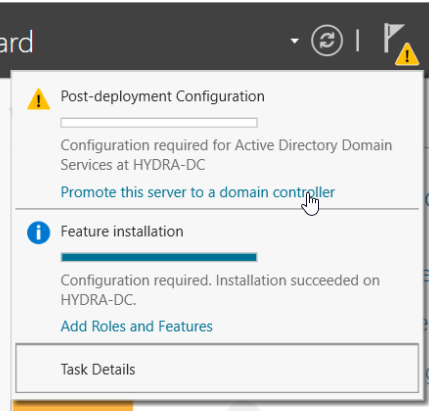
Now if you look at the top of the Server Manager window you can see that there is a little flag presented.

Click on that alert and then in the drop down menu click “Promote this server to a domain controller”.
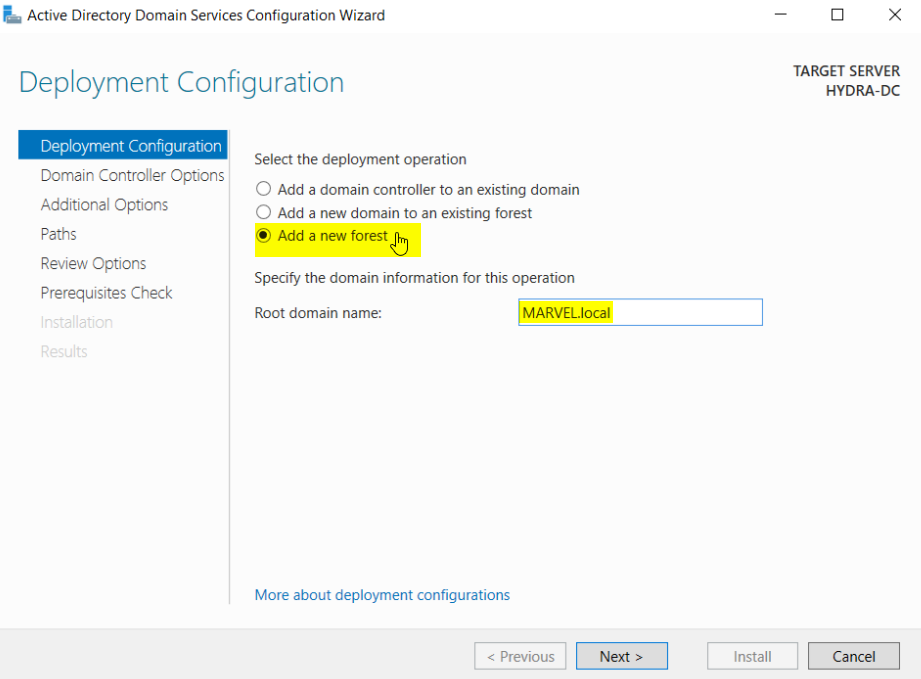
In the new window, go ahead and select “Add a new forest” and then give it a domain name like “MARVEL.local” (to stick with the marvel theme).
We are using .local instead of .com or .org in this instance.
Next we are going to create a password for the AD restore services: P@$$w0rd!
Click Next.

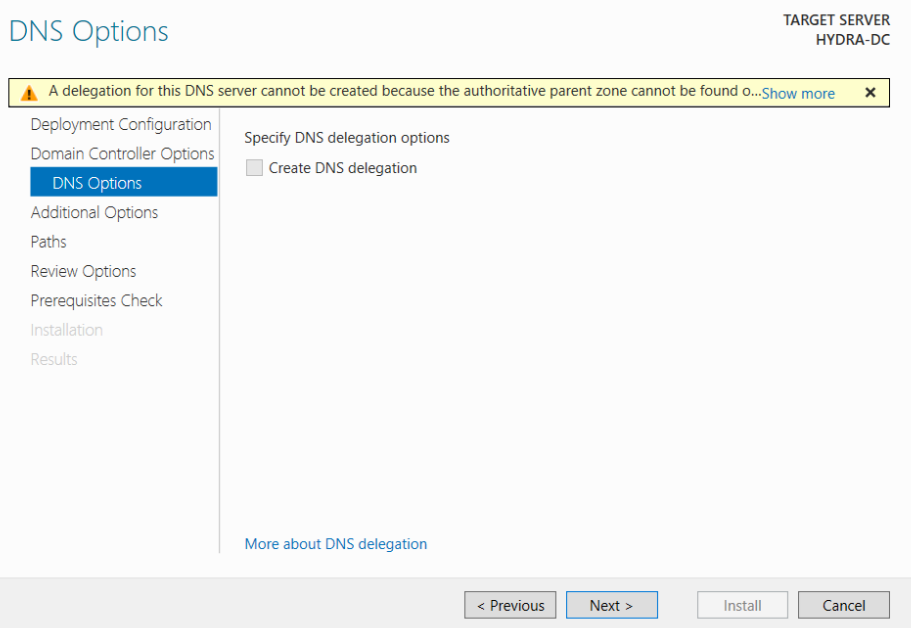
Click next again on the DNS Options page.
Wait for a second on the next page and it should populate the domain name in the text bar.
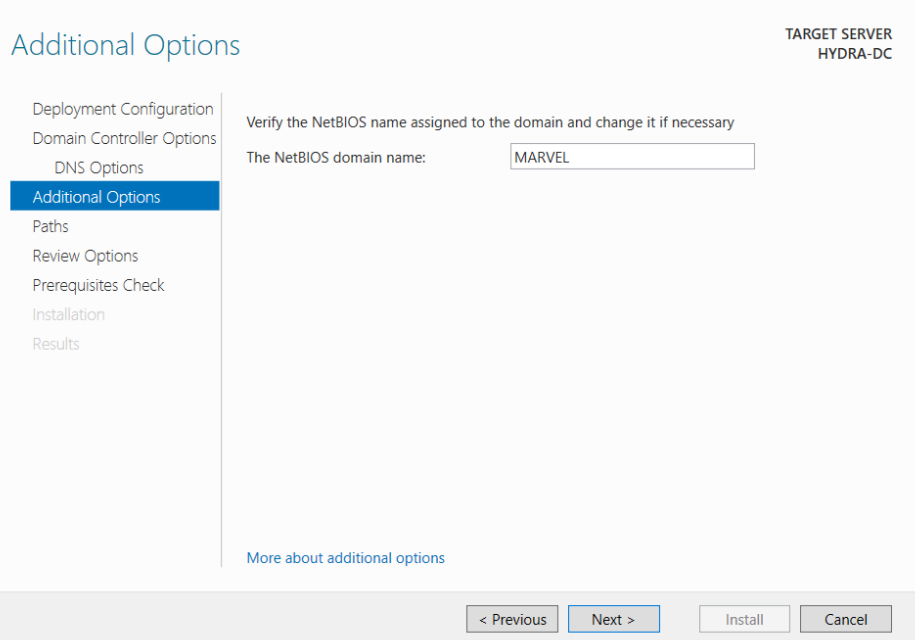
Click next.
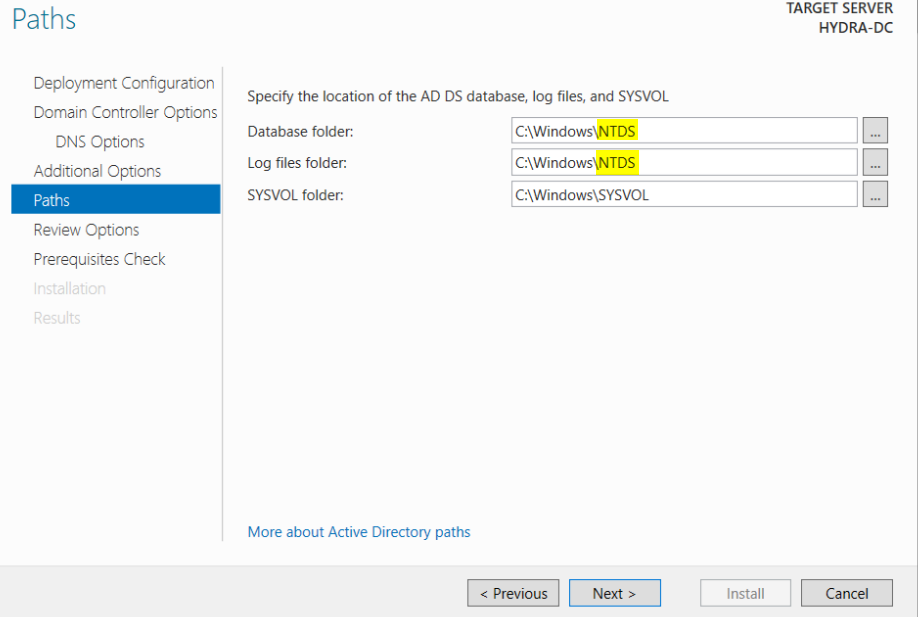
- Here we see the NTDS folder show up and we can see that it is selected as a path for our database folder and log files folder.
Click next on the following pages until you get to “Install” and then click install.
The machine should reboot and now you should see that on the lockout screen it says MARVEL/Administrator instead of just Administrator.
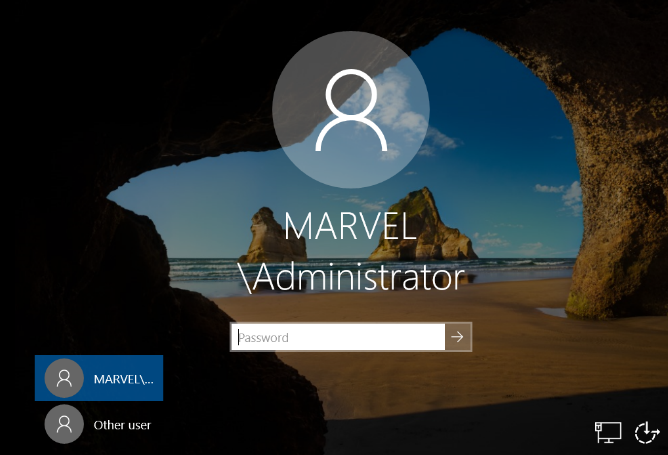
- This is because we are now the administrator of a domain.